Set up ingress
Introduction
In this section, you will learn how to install and configure the Kubernetes-maintained version of the Nginx Ingress Controller. Then, you're going to discover how to automatically issue TLS certificates for your hosts (thus enabling TLS termination), and route traffic to your backend applications.
Prerequisites
To complete this section you will need:
- Helm installed as explained in the Installing required tools section.
- A Kubernetes cluster (DOKS) up and running as explained in the Set up DOKS section.
- The online boutique sample application deployed to your cluster as explained in the Tilt remote development section.
- A valid domain available and configured to point to DigitalOcean name servers. More information is available in this article. Digital Ocean is not a domain registrar, so you will need to purchase the domain from a well known vendor, such as GoDaddy.
Installing the Nginx Ingress Controller
In this section you will install the community maintained version of the Nginx ingress controller. Please follow below steps to install Nginx using Helm:
-
Add the Ingress Nginx
Helmrepository: -
Install the
Nginx Ingress ControllerusingHelm:helm install ingress-nginx ingress-nginx/ingress-nginx --version 4.1.3 \ --namespace ingress-nginx \ --create-namespaceNote
To check if the installation was successful, run the
helm ls -n ingress-nginxcommand, and confirm the deployment status. -
Configure DNS for Nginx Ingress Controller:
Info
Please note that this domain matches the domain you purchased in the Prerequisites section. You will use this domain to create additional sub-domains to use with the microservices app you will deploy in this section.
-
Create an
Arecord for your host:LOAD_BALANCER_IP=$(doctl compute load-balancer list --format IP --no-header) doctl compute domain records create <YOUR_DOMAIN_NAME> \ --record-type "A" --record-name <YOUR_RECORD_NAME> \ --record-data "$LOAD_BALANCER_IP" \ --record-ttl "30"Info
The upper mentioned command works if you have only one LB in your DO account. If you have multiple LBs you will need to add the its IP in the command.
-
Add the
JetstackHelm repository: -
Install the
jetstack/cert-managerchart usingHelm:helm install cert-manager jetstack/cert-manager --version 1.8.0 \ --namespace cert-manager \ --create-namespace \ --set installCRDs=trueNote
To check if the installation was succesfull you can run the
helm ls -n cert-managerand confirm the deployment status. -
Create a
Kubernetes Secretfor the DigitalOcean Provider thatcert-manageris going to use to perform theDNS-01challenge using aDigitalOcean APItoken:DO_API_TOKEN="<YOUR_DO_API_TOKEN_HERE>" kubectl create secret generic "digitalocean-dns" \ --namespace microservices-demo-dev \ --from-literal=access-token="$DO_API_TOKEN"Note
The secret must be created in the same namespace where the
IssuerCRD is located - in this case themicroservices-demo-devnamespace. -
Create an
issuerresource for cert-manager usingkubectl(make sure to replace the <> placeholders first):The
issuermanifest file looks like the following:Click to expand
issuermanifest fileapiVersion: cert-manager.io/v1 kind: Issuer metadata: name: letsencrypt-nginx-wcard namespace: microservices-demo-dev spec: # ACME issuer configuration: # `email` - the email address to be associated with the ACME account (make sure it's a valid one). # `server` - the URL used to access the ACME server’s directory endpoint. # `privateKeySecretRef` - Kubernetes Secret to store the automatically generated ACME account private key. acme: email: <YOUR_EMAIL_ADDRESS> server: https://acme-v02.api.letsencrypt.org/directory privateKeySecretRef: name: letsencrypt-nginx-wcard-private # List of challenge solvers that will be used to solve ACME challenges for the matching domains. solvers: # Use the DigitalOcean DNS API to manage DNS01 challenge records. - dns01: digitalocean: # Kubernetes secret that contains the DO API token . # Must be in the same namespace as the Issuer CRD. tokenSecretRef: name: digitalocean-dns key: access-tokenApply via kubectl:
Info
Running
kubectl get issuer letsencrypt-nginx-wcard -n microservices-demo-devshould result in theTruevalue being displayed under theREADYcolumn.Note
If the
Issuerobject displays aNot Readystate you can describe the object to get additional information using:kubectl describe issuer letsencrypt-nginx-wcard -n microservices-demo-devto get more information. -
Create the
wildcard certificatesresource usingkubectland the provided manifest file (make sure to replace the <> placeholders first):The
certificatemanifest file looks like the following:Click to expland the
certificateresourceapiVersion: cert-manager.io/v1 kind: Certificate metadata: name: <YOUR_DOMAIN_NAME> # Cert-Manager will put the resulting Secret in the same Kubernetes namespace as the Certificate. namespace: microservices-demo-dev spec: # Secret name to create, where the private key and certificate should be stored. secretName: <YOUR_DOMAIN_NAME> # What Issuer to use for getting the certificate. issuerRef: name: letsencrypt-nginx-wcard kind: Issuer group: cert-manager.io # Common name to be used on the Certificate. commonName: "*.<YOUR_DOMAIN_NAME>" # List of DNS subjectAltNames to be set on the Certificate. dnsNames: - "<YOUR_DOMAIN_NAME>" - "*.<YOUR_DOMAIN_NAME>"Apply via kubectl:
To verify the certificate status run:
Info
This may take a few minutes to complete. If the
Certificateobject displays anot ready stateyou can run:kubectl logs -l app=cert-manager,app.kubernetes.io/component=controller -n cert-manager -
Add the
Ingress Nginxhost usingkubectland the provided manifest file (make sure to replace the <> placeholders first):The
ingress hostmanifest file looks like the following:Click to expand the
ingress hostresourceapiVersion: networking.k8s.io/v1 kind: Ingress metadata: name: ingress-microservices-demo-dev namespace: microservices-demo-dev spec: tls: - hosts: - "*.<YOUR_DOMAIN_NAME>" secretName: <YOUR_DOMAIN_NAME> rules: - host: <YOUR_A_RECORD>.<YOUR_DOMAIN_NAME> http: paths: - path: / pathType: Prefix backend: service: name: frontend port: number: 80 ingressClassName: nginxApply via kubectl:
-
Open a web browser and point to
<YOUR_A_RECORD>.<YOUR_DOMAIN>. You should see the online boutique welcome page. The connection is secure and the certificate is a valid one issued by Let's Encrypt.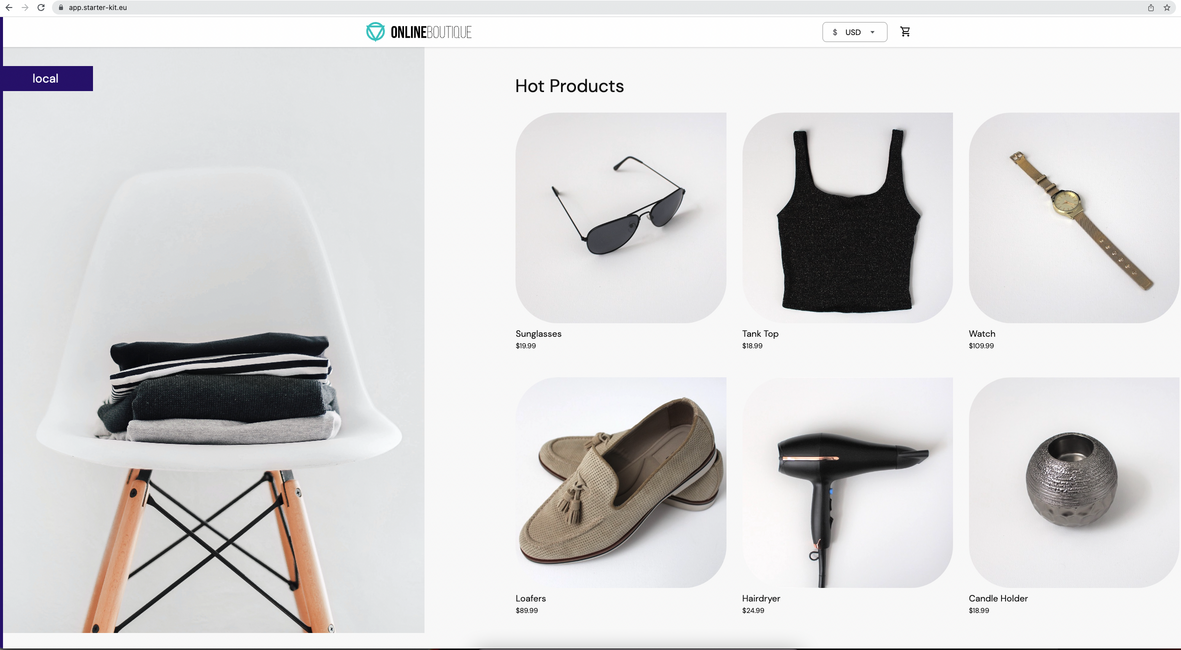
Next, you will deploy the Kubernetes Dashboard and Kubernetes Metrics Server to your cluster in order to visualize application and cluster related metrics, as well as corresponding logs and events.